
How to Personalise a Height Chart Blank
Our height chart blanks are a great way to personalise and record your family's or child's height as they grow! Perfect for renters who want not only a stylish and sophisticated height chart, but also an option that moves with them wherever they go. Our acrylic blanks are made from 3mm cast acrylic and come in a range of colours and styles to suit your needs. They're easy to hang using 3M Velcro Strips or even Blu Tac.
In this project tutorial, we’re using our Standard Height Chart which can be found at the link below. This design will also work for our Puzzle Fit Height Chart Blank.
Materials We Used
Tools
- Vinyl Cutting Machine
- Weeder
- Squeegee
- Heat Press / Iron
Vinyl
- Transfer Tape
- Siser PSV in White Cloud Permanent Adhesive
- Ritrama Topaz Glitter Permanent Adhesive
- Siser Easy Weed - Black
Blanks
- Standard Height Chart – Blush
- Height Chart Markers – Beige
- Acrylic Name – Font Option 2 – Size Tiny – Mirror Gold
- Large Calico Drawstring Bag
SVG
Steps
Step 1: Remove the Protective Film
When you receive your height chart blank, you'll notice three different sized pieces. The longest piece (only slightly longer) is the bottom of the height chart. This piece is designed so that its bottom edge is your starting measurement from the floor.
Recommended starting points:
- Start at 30cm (floor = 0cm): chart reaches 200cm tall
- Start at 40cm (floor = 0cm): chart reaches 210cm tall
The smallest piece of the chart is the top and includes space for personalisation. The rest of the pieces are equal in height. In total, there are six pieces in your height chart blank.
We used Blush from our Natural’s Range. It features a matte and gloss side— we chose gloss for this project.
![]()
Step 2: Prepare Your SVG
We sourced a beautiful wildflower SVG from Creative Fabrica. We sized it to 182mm wide x 92mm high. To fill out the width, we ungrouped the SVG and copied wildflower elements to the edges for balance.

Step 3: Cut and Apply the Vinyl
Apply your Siser PSV vinyl to your mat and prepare to cut. We used Siser PSV White Cloud with our Siser Juliet machine—amazing for intricate cuts. After cutting, weed the vinyl, apply transfer tape, and place it on the top panel of your height chart.
Tip: If any pieces miss the transfer, you can manually apply them afterwards.
![]()
Step 4: Add the Acrylic Name
Using E6000 glue, attach your acrylic name to the height chart. Apply glue sparingly with a toothpick—avoid smearing to keep it neat. We recommend E6000 only, as it's been thoroughly tested by Laser Blanks.
Step 5: Apply Vinyl Measurements
We applied vinyl to each major measurement to give a clean, readable look across the entire chart.
![]()
Step 6: Prepare Your Height Chart Markers
We matched our Height Chart Markers to the gold name by using Ritrama Topaz Glitter Permanent Adhesive. These markers are a stylish way to record special height milestones.
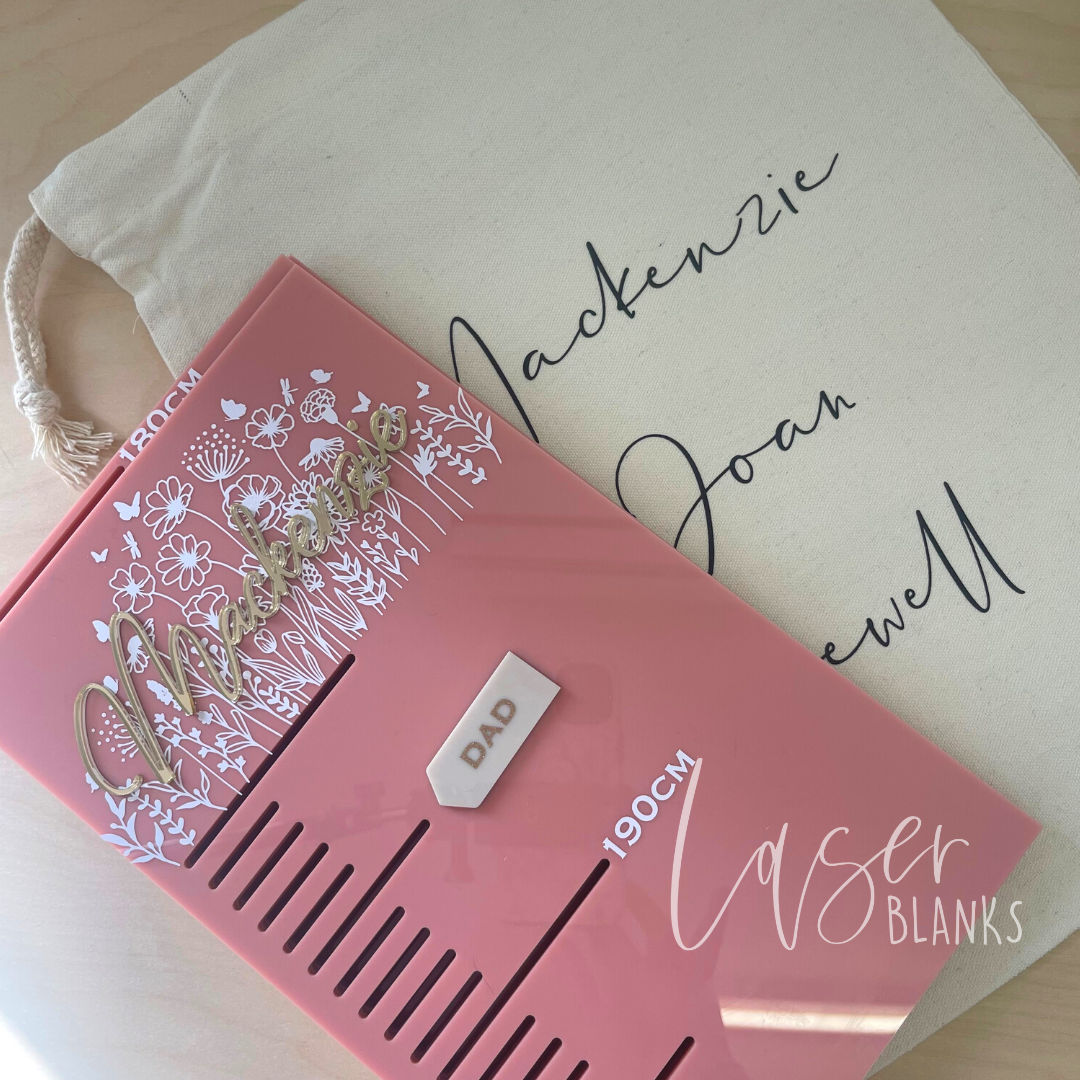
Step 7: Personalise the Gift Bag
To finish it off, we added HTV to our Large Calico Drawstring Bag. It fits the entire height chart with room to spare and made the perfect gift for Mackenzie.
We Hope You Love It
This project was so special to make—and we hope it inspires you to create something beautiful for your family or a thoughtful gift for someone else.
♥ The Laser Blanks Team