
Make Your Own Timber Height Chart with Our Easy DIY Kit
Want to create a custom timber height chart for your little one (or the whole family) but don’t know where to start? Our Timber Height Chart Marking Kit makes it easy. Whether you’re a DIY enthusiast or just love a good weekend project, this kit includes everything you need to build a beautiful and accurate growth chart — no laser cutter required.
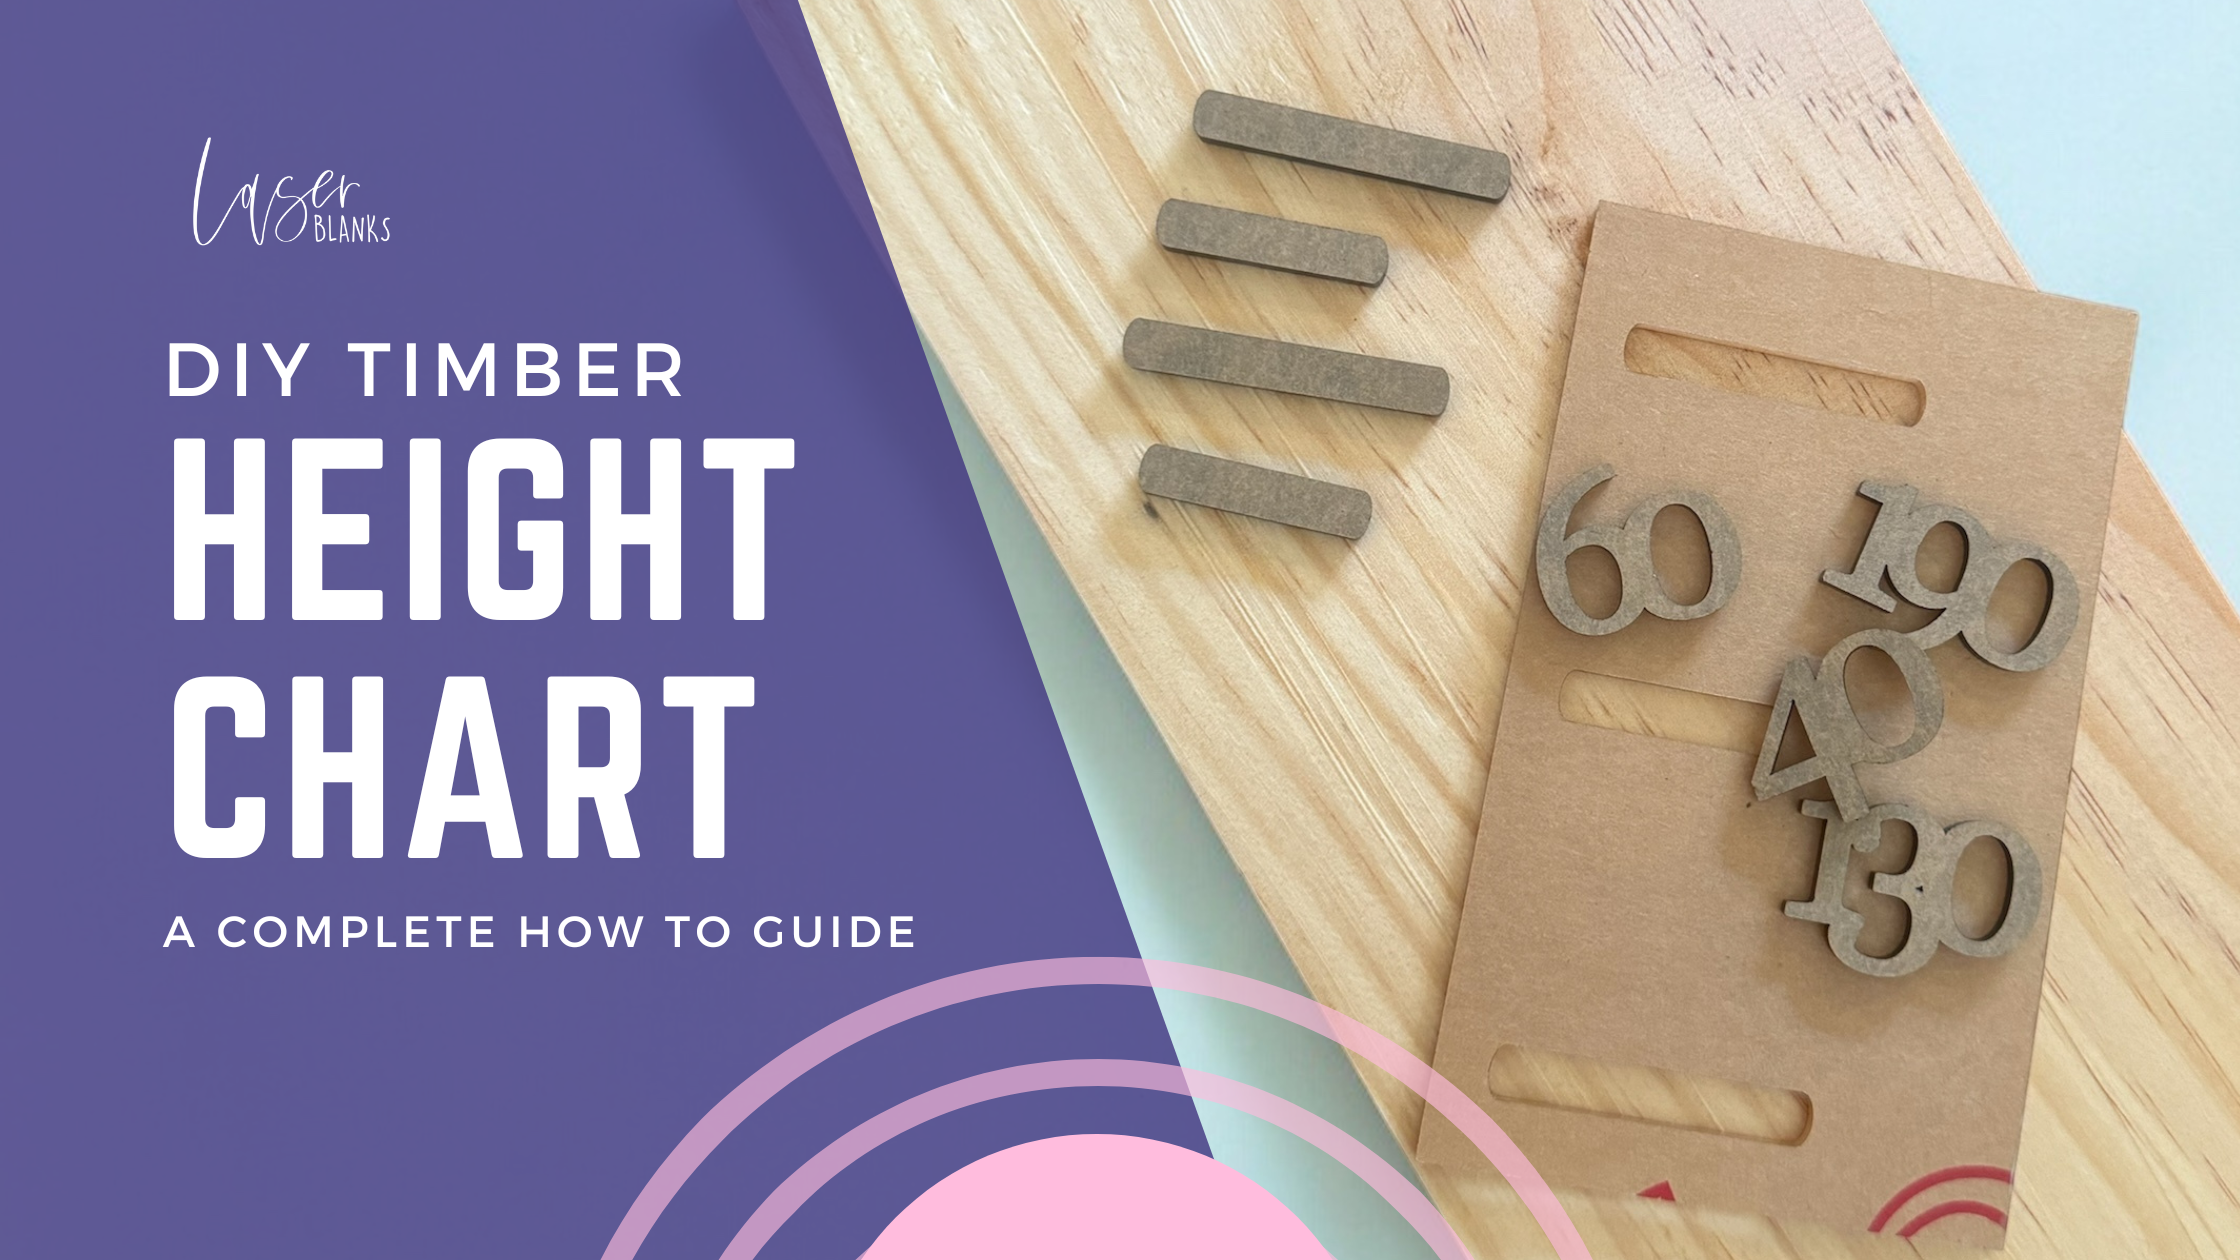
What’s in the Timber Height Chart Kit?
We’ve taken the guesswork out of spacing and measuring. Every kit includes:
-
Acrylic Template – Ensures perfect 10cm and 5cm intervals
-
Measurement Numbers – From 40cm to 200cm in clean acrylic
-
Line Markers – 17 x 10cm lines and 17 x 5cm lines
-
Peel-and-Stick Adhesive – Already applied to every marker
Available in four finishes: Black Gloss, Black Matte, White Gloss, and White Matte.
👉 Shop the kit here: Timber Height Chart Marking Kit
What You’ll Need
-
A timber board of your choice
-
A ruler or measuring tape
-
Optional: pencil, clear sealer, clean cloth
Step 1: Select Your Desired Timber
First, choose the perfect piece of timber for your height chart. We selected a 140mm wide x 1.8m DAR Pine from Bunnings, which cost us ~$17. This size is ideal for a height chart that will track growth from 40cm to 200cm.
Step 2: Seal Your Timber
Since your timber is raw, you'll need to seal it to ensure durability and longevity. We used Cabot's Polyurethane Sealer, which allowed us to maintain the blonde color of the timber while providing a durable finish. Apply the sealer evenly and allow it to dry completely before moving on to the next step.

Step 3: Prepare Your Height Chart Kit
Next, get your Height Chart Kit from Laser Blanks ready. The kit includes a template to ensure your height chart markings are accurate and straight, along with numbers for the 10cm height markers. The markers start at 40cm and go up to 200cm, making this chart suitable for tracking growth from birth through adulthood.
- Use the template to mark your timber.
- Peel and stick the height chart markings, starting at the bottom.
- Move the template up to the last 10cm marking to ensure your measurements remain accurate.
- Continue this process until you have marked the entire length of your timber.


Step 4: Apply the Acrylic Numbers
Finally, apply the acrylic numbers at each 10cm mark. This adds a professional and polished look to your height chart, ensuring it's easy to read and aesthetically pleasing.
And there you have it! You've just completed a timeless height chart that will last for generations. This beautiful project not only serves a practical purpose but also creates a cherished family heirloom. Enjoy tracking your family's growth and creating lasting memories with this stunning timber height chart!


Top Tips for Best Results
-
Always start with the longest template piece at the bottom
-
Use a pencil to lightly mark where your timber will sit on the wall at 30cm
-
Seal your board before applying markers to avoid lifting
-
Remove the protective film last to keep your acrylic pieces scratch-free
Why Crafters Love This Kit
-
No measuring, no guesswork — just clean and easy alignment
-
Professional finish with no need for a laser cutter or fancy tools
-
Perfect for keepsake gifts, home décor or market sellers
-
Finishes available to match any style or colour scheme
Want to Make It Even Easier?
We wrote this guide to make your first timber height chart a success — but you can also shop our ready-to-personalise acrylic height charts:
Explore the full range here: Height Chart Collection
Ready to Start?
Grab your Timber Height Chart Marking Kit and turn a blank timber board into something truly meaningful for your home. Whether you're making it for your own family or gifting it to someone else, this project is simple, satisfying, and full of heart.
