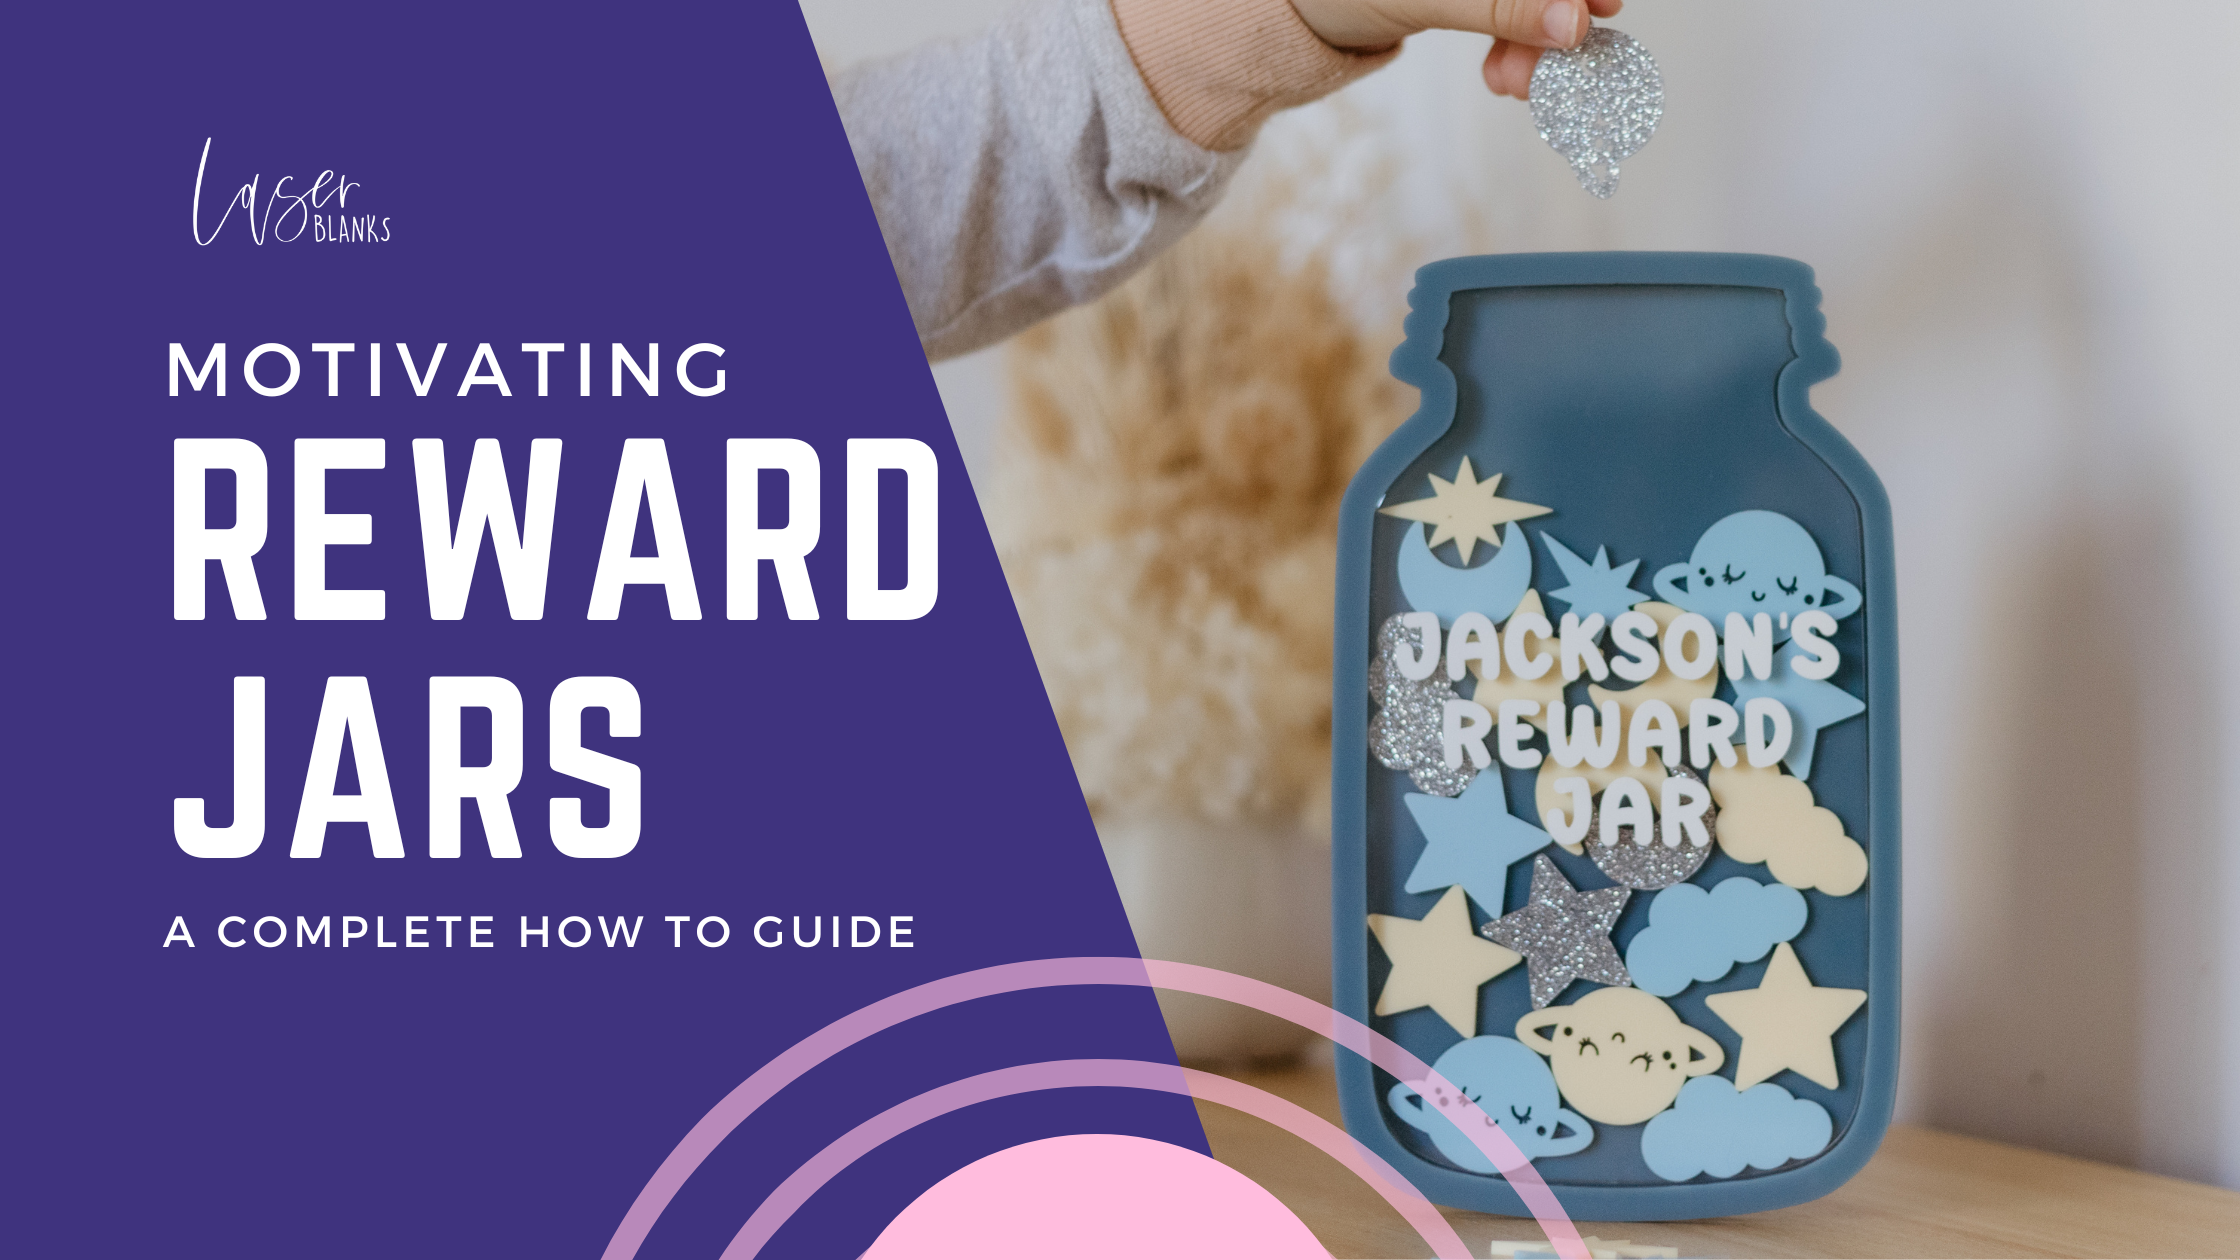
Create Your Own Reward Jar!
Looking for a fun and engaging way to track achievements or positive behaviours? Our Blank Reward Jar is the perfect solution! Whether it’s for celebrating good behaviour, reaching personal milestones, or other achievements, this jar is designed to help you stay motivated and celebrate success.
Choose Your Size
We offer three reward jar sizes to suit your needs:
- Mini Reward Jar: Perfect for small achievements—requires 1 pack of tokens.
- Standard Reward Jar: Ideal for everyday goals—requires 2 packs of tokens.
- Teacher Reward Jar (Extra Large): Great for classroom use—requires 5 packs of tokens.
No matter the size, each jar is designed for easy assembly!
What’s Included
Each reward jar set comes with four pieces that you can easily assemble yourself. Explore our range of tokens, from adorable dinosaurs to charming bows, to make your jar uniquely yours!
Why You’ll Love It
The beauty of our reward jars lies in their simplicity. They are completely fuss-free, reusable, and require no messy stickers or markers. Just fill your jar with tokens, and once it's full, simply tip them out and start anew!
Assembly Instructions
To assemble your reward jar, you will need E6000 glue, which creates a strong bond and dries clear. Here’s how to put it together:
Preparation:
- Clear your workspace and remove the protective layers from the acrylic pieces.
- If you’d like to personalise your jar, we recommend doing this before assembly to ensure even pressure on the vinyl without risking cracks.
Assembly Steps:
-
Lay out the four acrylic pieces in the following order:
- Coloured back plate (bottom)
- Clear thick spacer plate
- 2mm clear top plate
- Decorative coloured trim (top)
-
Use a toothpick to apply a small amount of E6000 glue to avoid excess that could ooze out and damage your jar. Be careful to avoid letting the glue seep out. If any glue does seep out, do not wipe or try to clean it; this can wreck your reward jar. Instead, allow it to dry and leave it alone.
-
Carefully align the pieces, using the ridges at the top as a guide for symmetry.
-
Make sure to place the clear top plate on a non-scratch surface to avoid any damage.
Personalisation:
For a ‘screw top’ lid, you can grab our FREE SVG file [here]. We recommend using etch vinyl for a professional finish, although any permanent vinyl will work just fine.
Need Help?
If you have any questions or need assistance, our team is here for you! Feel free to reach out at hello@laserblanks.com.au.
Join the Fun!
We hope you enjoy creating and using your reward jar as much as we enjoyed making it! Don’t forget to share your designs with our Facebook community—let’s inspire each other!
Happy crafting!

