
Today we customised our Rainbow Keyring Acrylic Blank. We at Laser Blanks are avid crafters and have have used a vast range of cutting machines from the Cricut Maker through to the Silhouette Cameo 3 & 4. Each has their own range of great features - we are yet to determine our favourite machine.
Whilst Silhouette have software that is incredibly user friendly, allows you to customise to your hearts content, their machine is more of a 'plastic' feel. Silhouette has definitely invested in their design software. As a user with a graphic design background, I really do love the design space that Silhouette offer. It comes more 'second nature' than that of the Cricut software.
Cricut has an incredible machine, built very solid and sturdy. It has a range of easily accessible tools and mats, and can be purchased at Spotlight! Their design space is a great program to start with if you're new to getting into vinyl and cutting machines.
Today we used the Cricut Maker to customise our blank acrylic rainbow keyring. One of our most favourite permanent adhesive to use is the Siser PSV range. This range has an amazing vibrant colour selection and is so easy to use. It is a dream to weed and to transfer! We get this from Vinyl World Australia. We are big lovers of supporting other Australian businesses and we love the range at VW!
So let's get started!
1. Measure your acrylic blank key ring and prepare your SVG in your chosen design program. Due to the multiple colour options we used, we opted to use one cutting mat and add the three different vinyl colours to the one mat. This saves time instead of having to continually loading new mats for each colour.

2. Cut your vinyl!
3. Weed your vinyl. Our favourite tool to use is the Vinyl World branded weeder. It is ergonomic and user-friendly.

4. Cut off a piece of transfer tape to suit the size of the largest rainbow colour. Using your tape, line up and transfer your rainbow 'arch'. Next, adding to the transfer tape, line up and transfer your next rainbow 'arch'. So-on- and-so-forth until you have completed your rainbow and it is in position on your transfer tape.
![]()
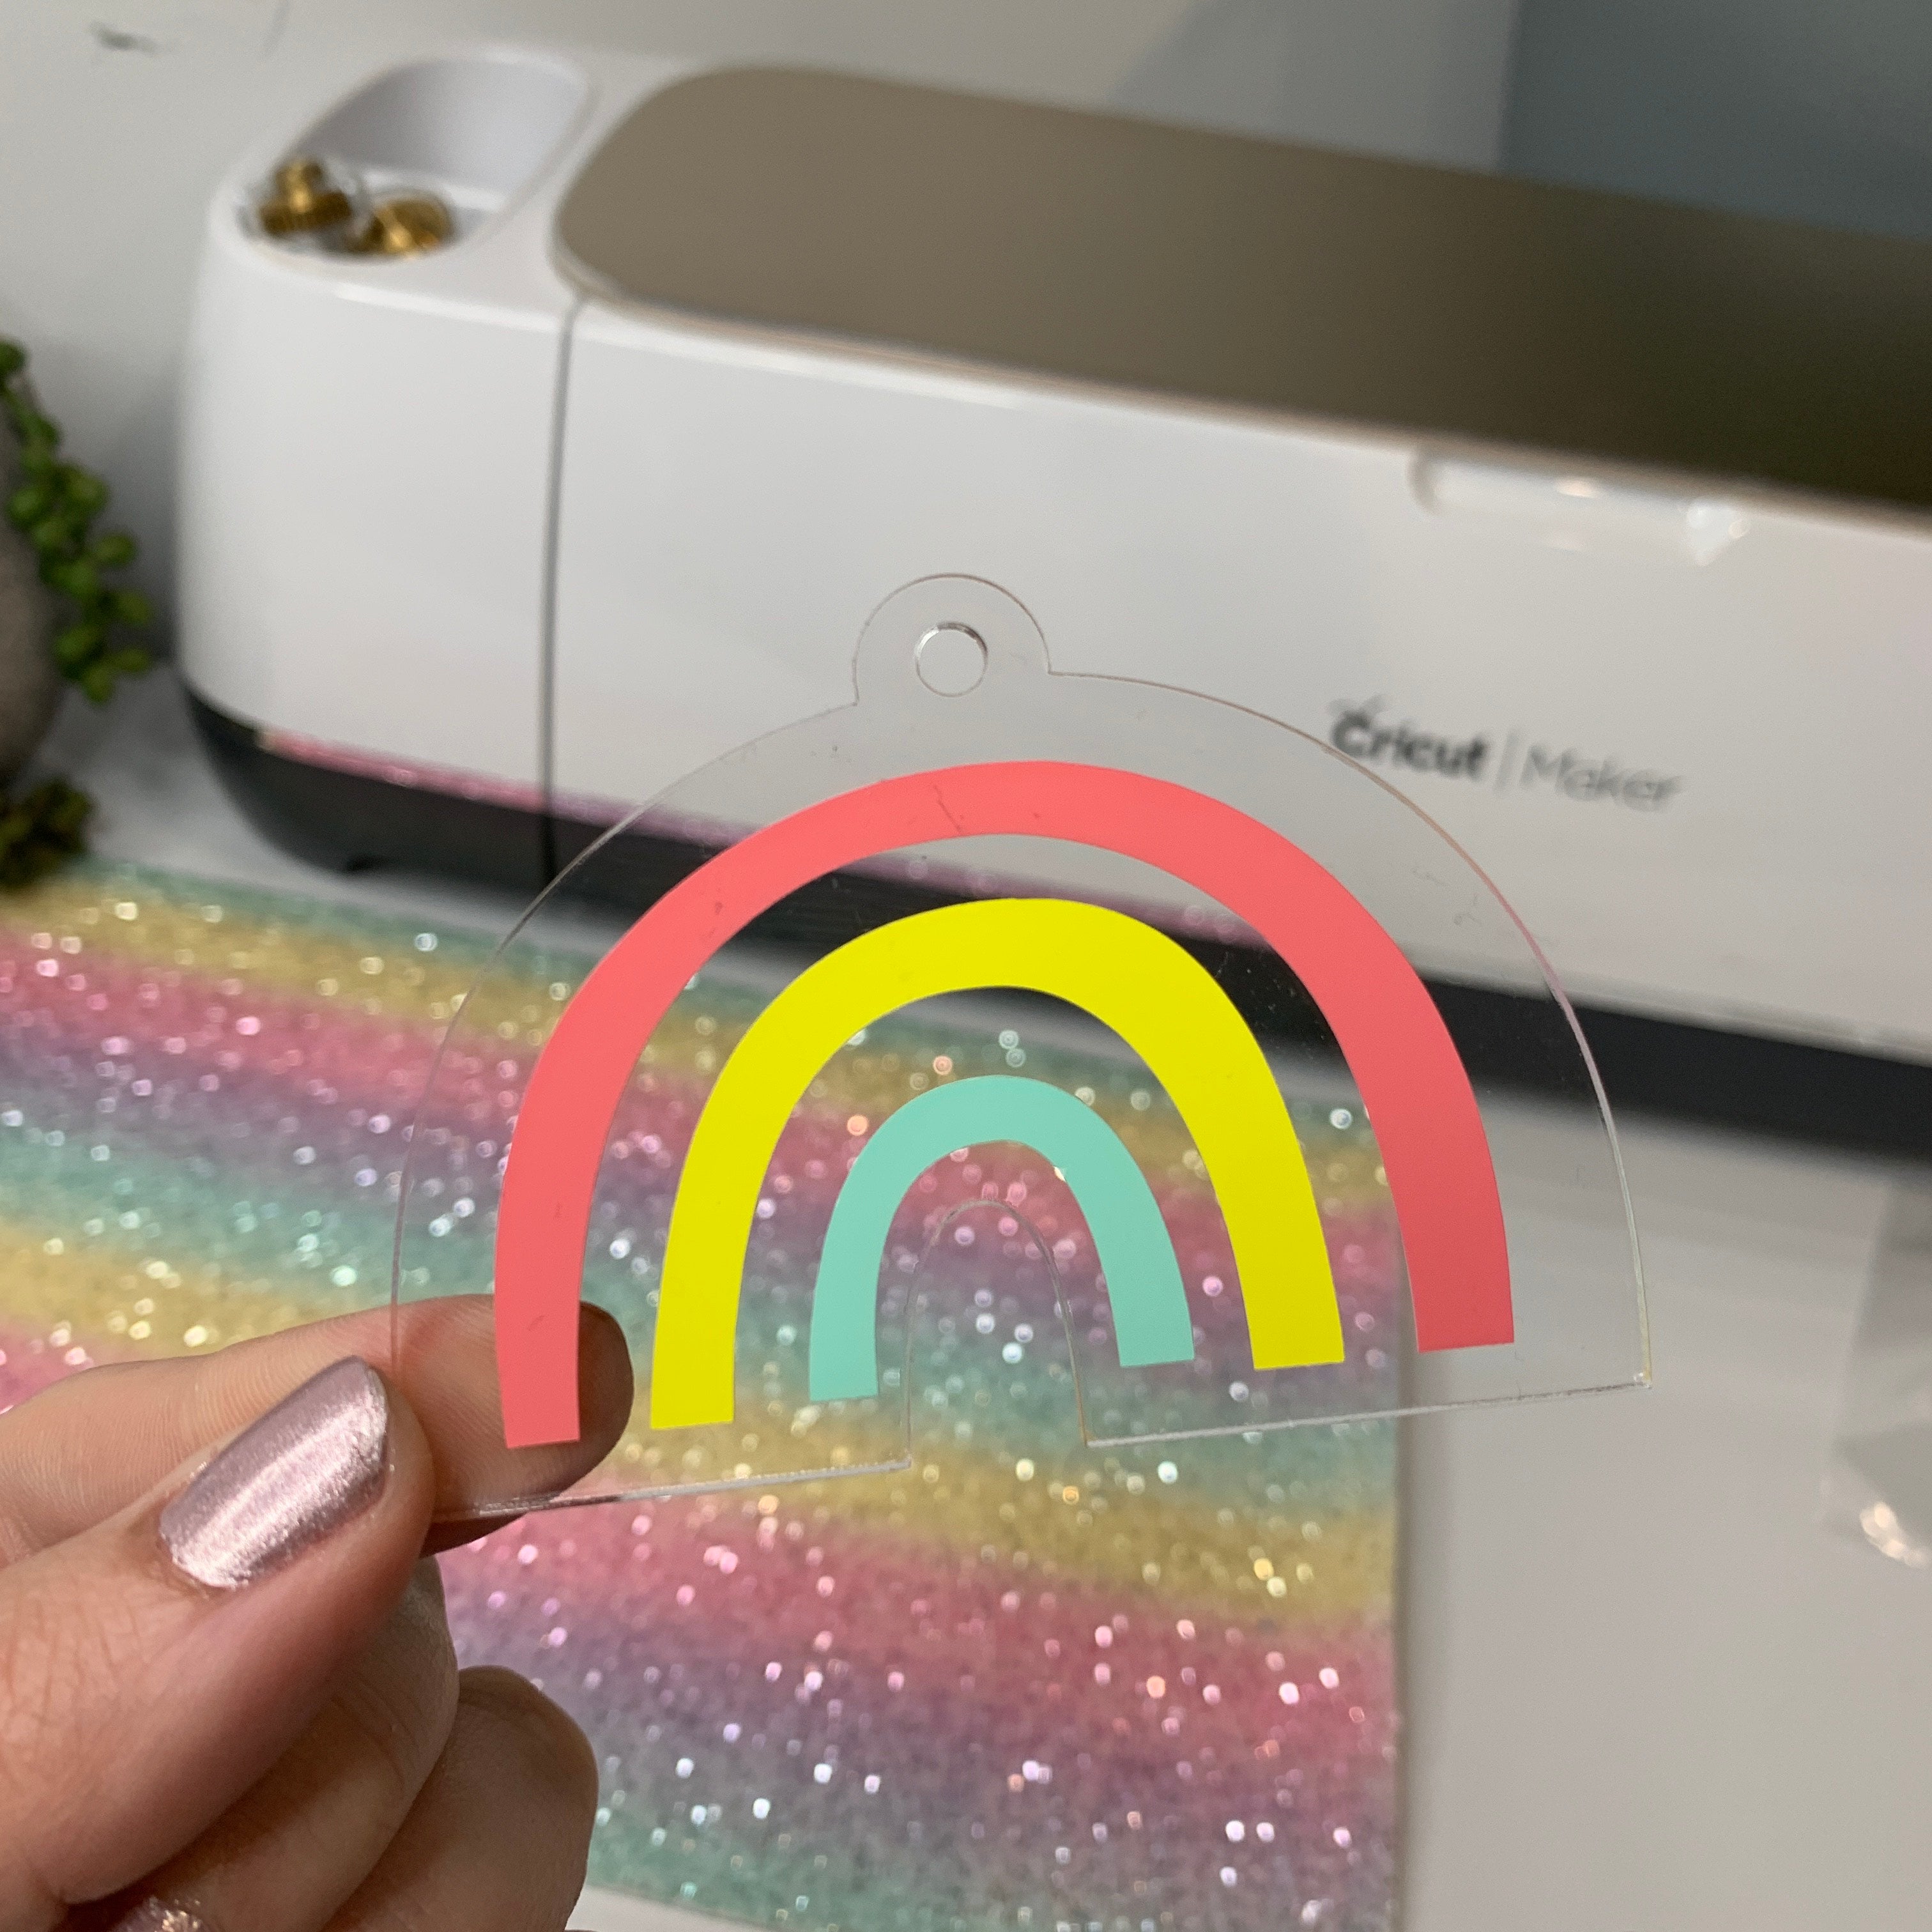
5. Using even pressure & a squeegy, transfer your rainbow decal onto your rainbow acrylic blank keyring. Remove your transfer tape on an angle nice and slowly ensuring that the vinyl has adhered correctly to the acrylic blank.

Ta-daa! You have successfully completed your rainbow acrylic keyring!

Stay tuned for more projects!