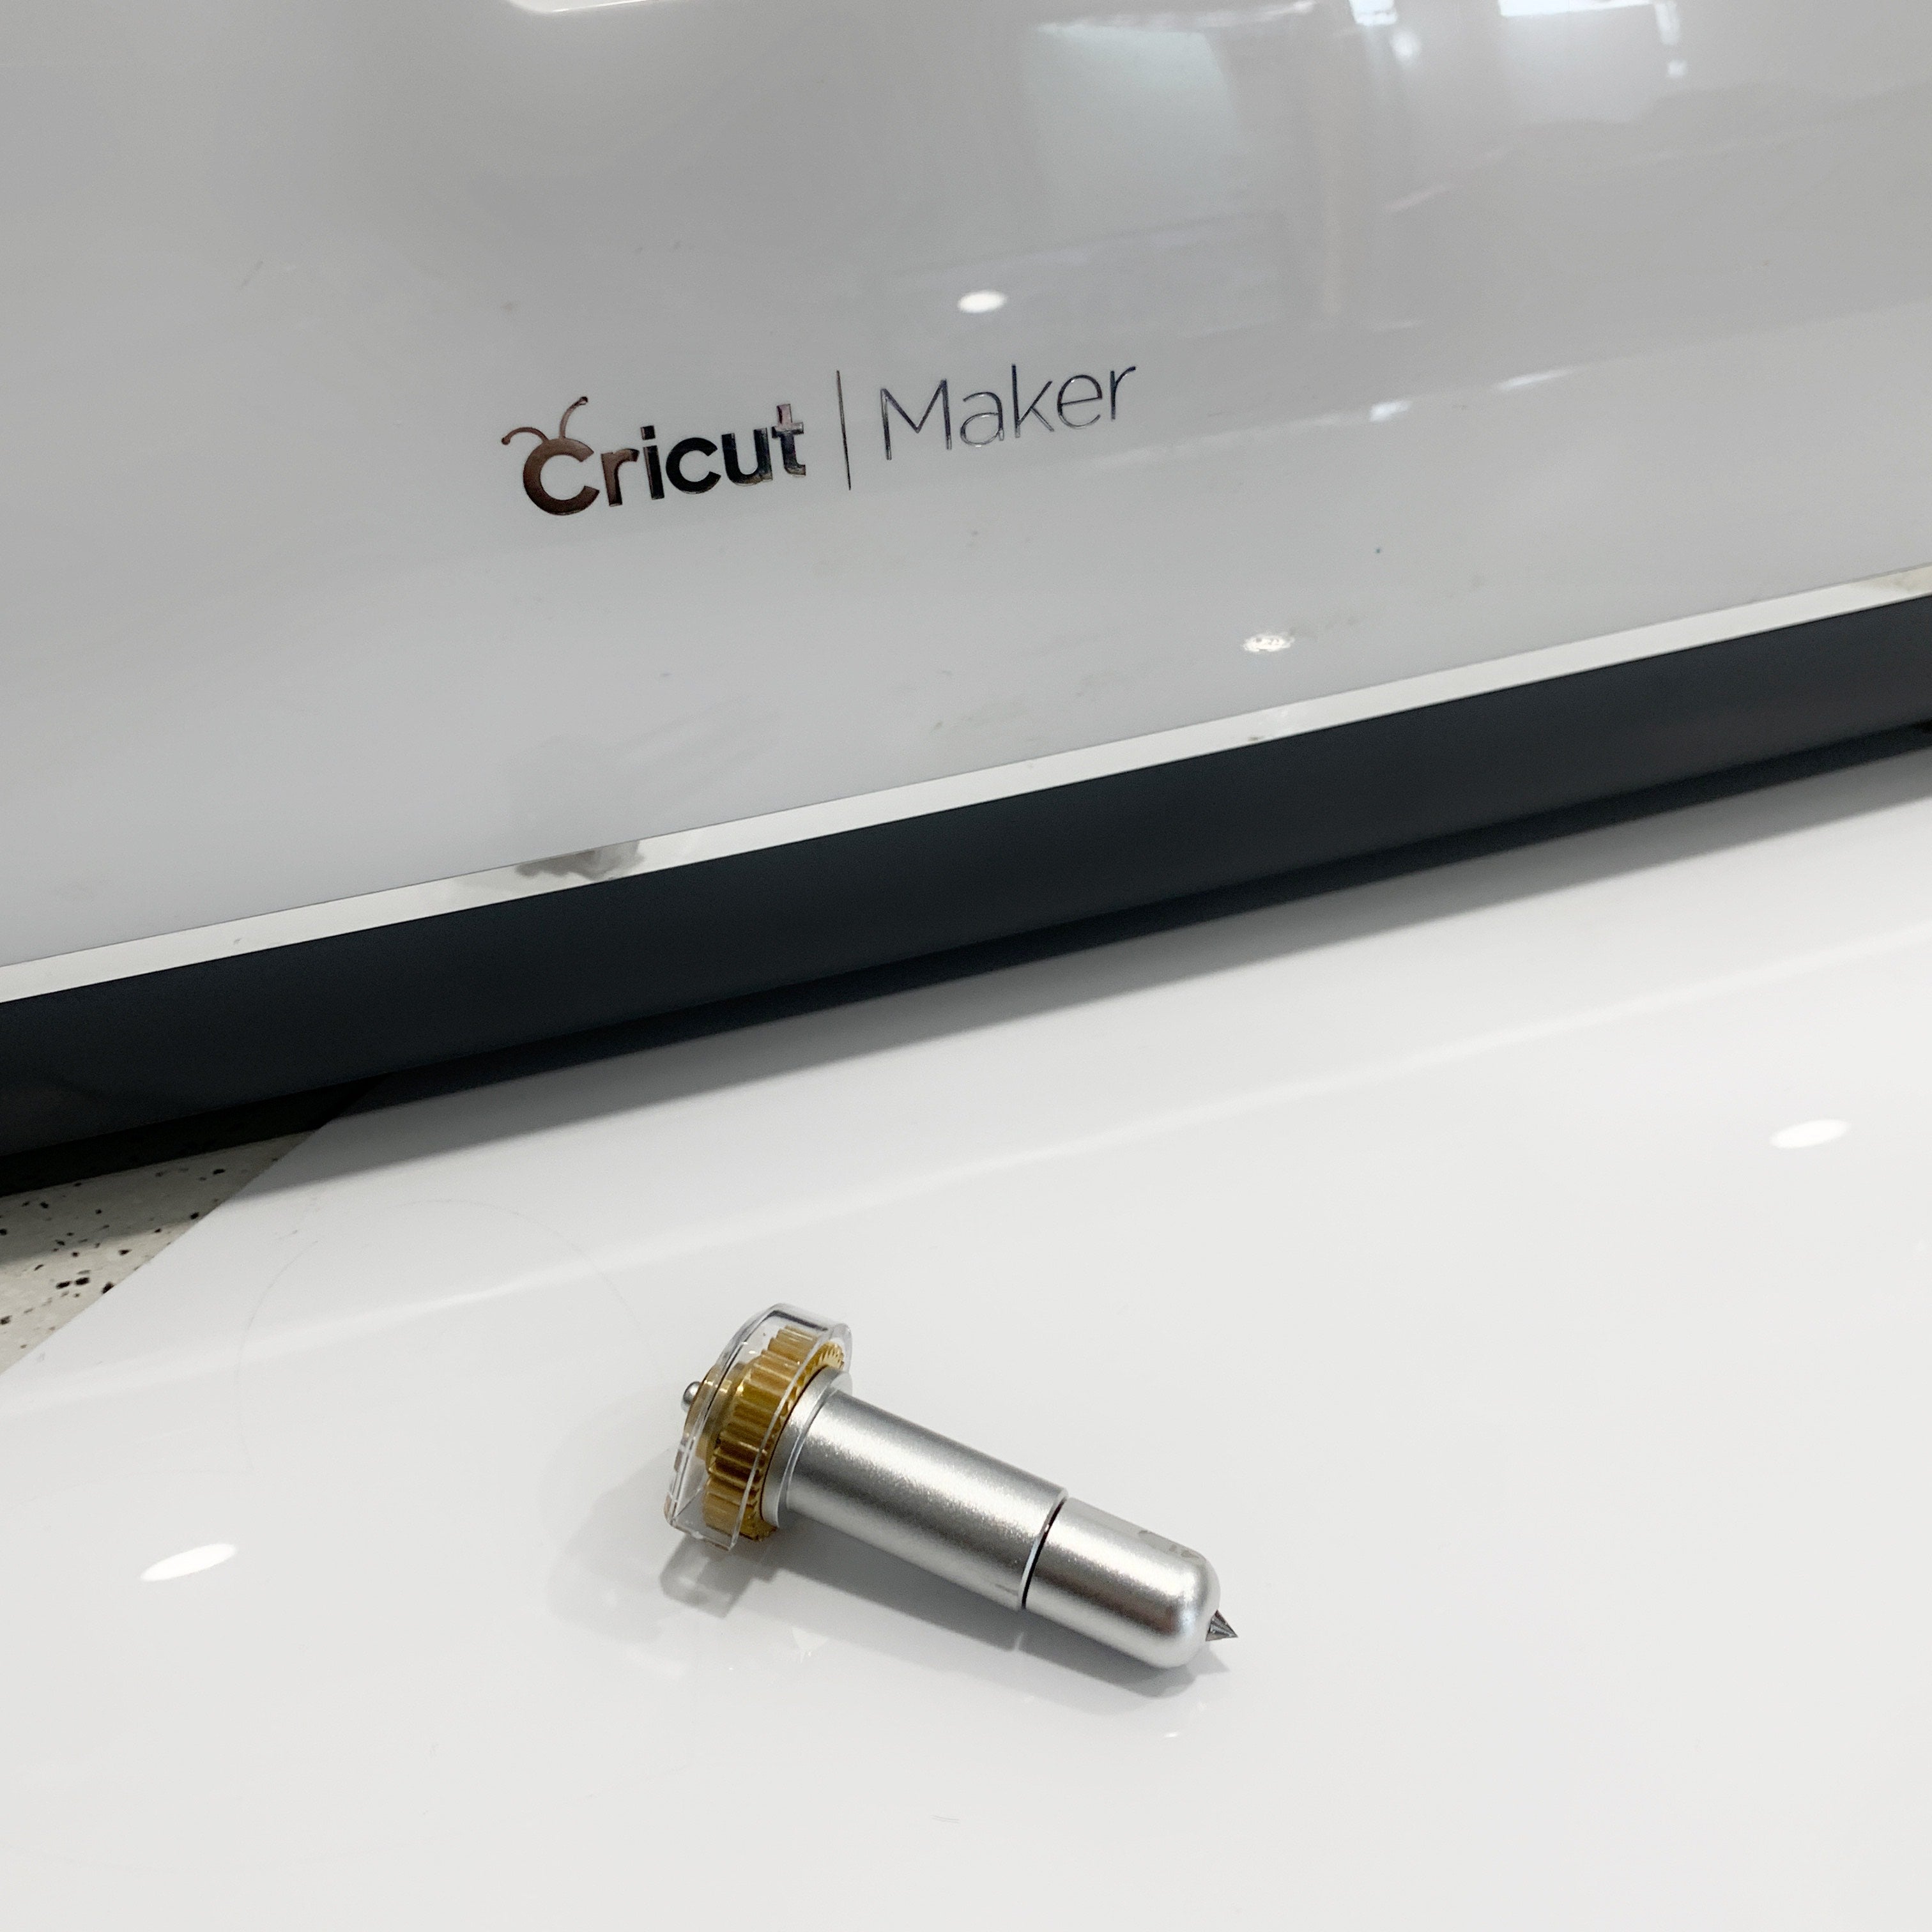
We often get asked how to engrave on acrylic with the Cricut Maker! So we thought we would give some tips and tricks on how to accurately engrave on the Cricut Maker!
The Cricut Maker Engraving Tool allows you to take your designs to the next level! Not only can you expand your use of materials, you can opt to replace the use of vinyl on acrylic. Here's how!
The engraving tool/tip is marked with '41' on it to ensure that it is not mixed up with other tools. This amazing tool is designed to allow you to create permanent and etched designs. It does this by using it's small hard, metal point to press and move on and around the acrylic, permanently marking the acrylic.
After you've loaded your engraving 41 tip into the maker, it is time to design your project in Design Space. Using the Linetype Menu at the top of page, instruct your machine to 'engrave' rather than cut.
Next, you'll need to ensure that the acrylic you're using is less than 2.4mm. Your Cricut is only able to have a maximum of 2.4mm loaded in the machine. If you do exceed this limit, your acrylic will get very scratched an damaged. You also risk damaging your machine. Here at Laser Blanks, we offer a range of acylic blanks at 2mm for use in your Cricut Machine. Simply head to our home page and select 2mm so see our ever-growing range of products.
Load your acrylic blank onto your cutting mat. Ensure that you fix it securely to the mat using something like masking tape. In the prepare screen, move your design so that it is in the correct location to be engraved correctly. You may need to experiment a little bit ( so we always recommend getting an extra just in case). Place your mat in your machine and select Acrylic 2mm as your material. Press the blinking 'C' on your machine to begin your engraving.
Once your engraving has finished (and it can take a while, so be prepared to wait for your masterpiece to unfold), we recommend handling your acrylic with extreme care. Be sure to use a soft, cloth to remove any tiny bits of acrylic that have come up from the engraving.
Ta-daa you have just completed your first engraving project!
If you have any questions, please to not hesitate to contact us!

