
So here's the thing — sometimes you just want a little something on the fridge that isn't a random takeaway menu or your kid's maths test from 2023. Something intentional. Something cute. Something you.
That's exactly what these Dry Erase Little Notes are for, and they could not be easier to put together. Seriously, if you can cut and weed some vinyl and squeeze some glue, you're already halfway there.
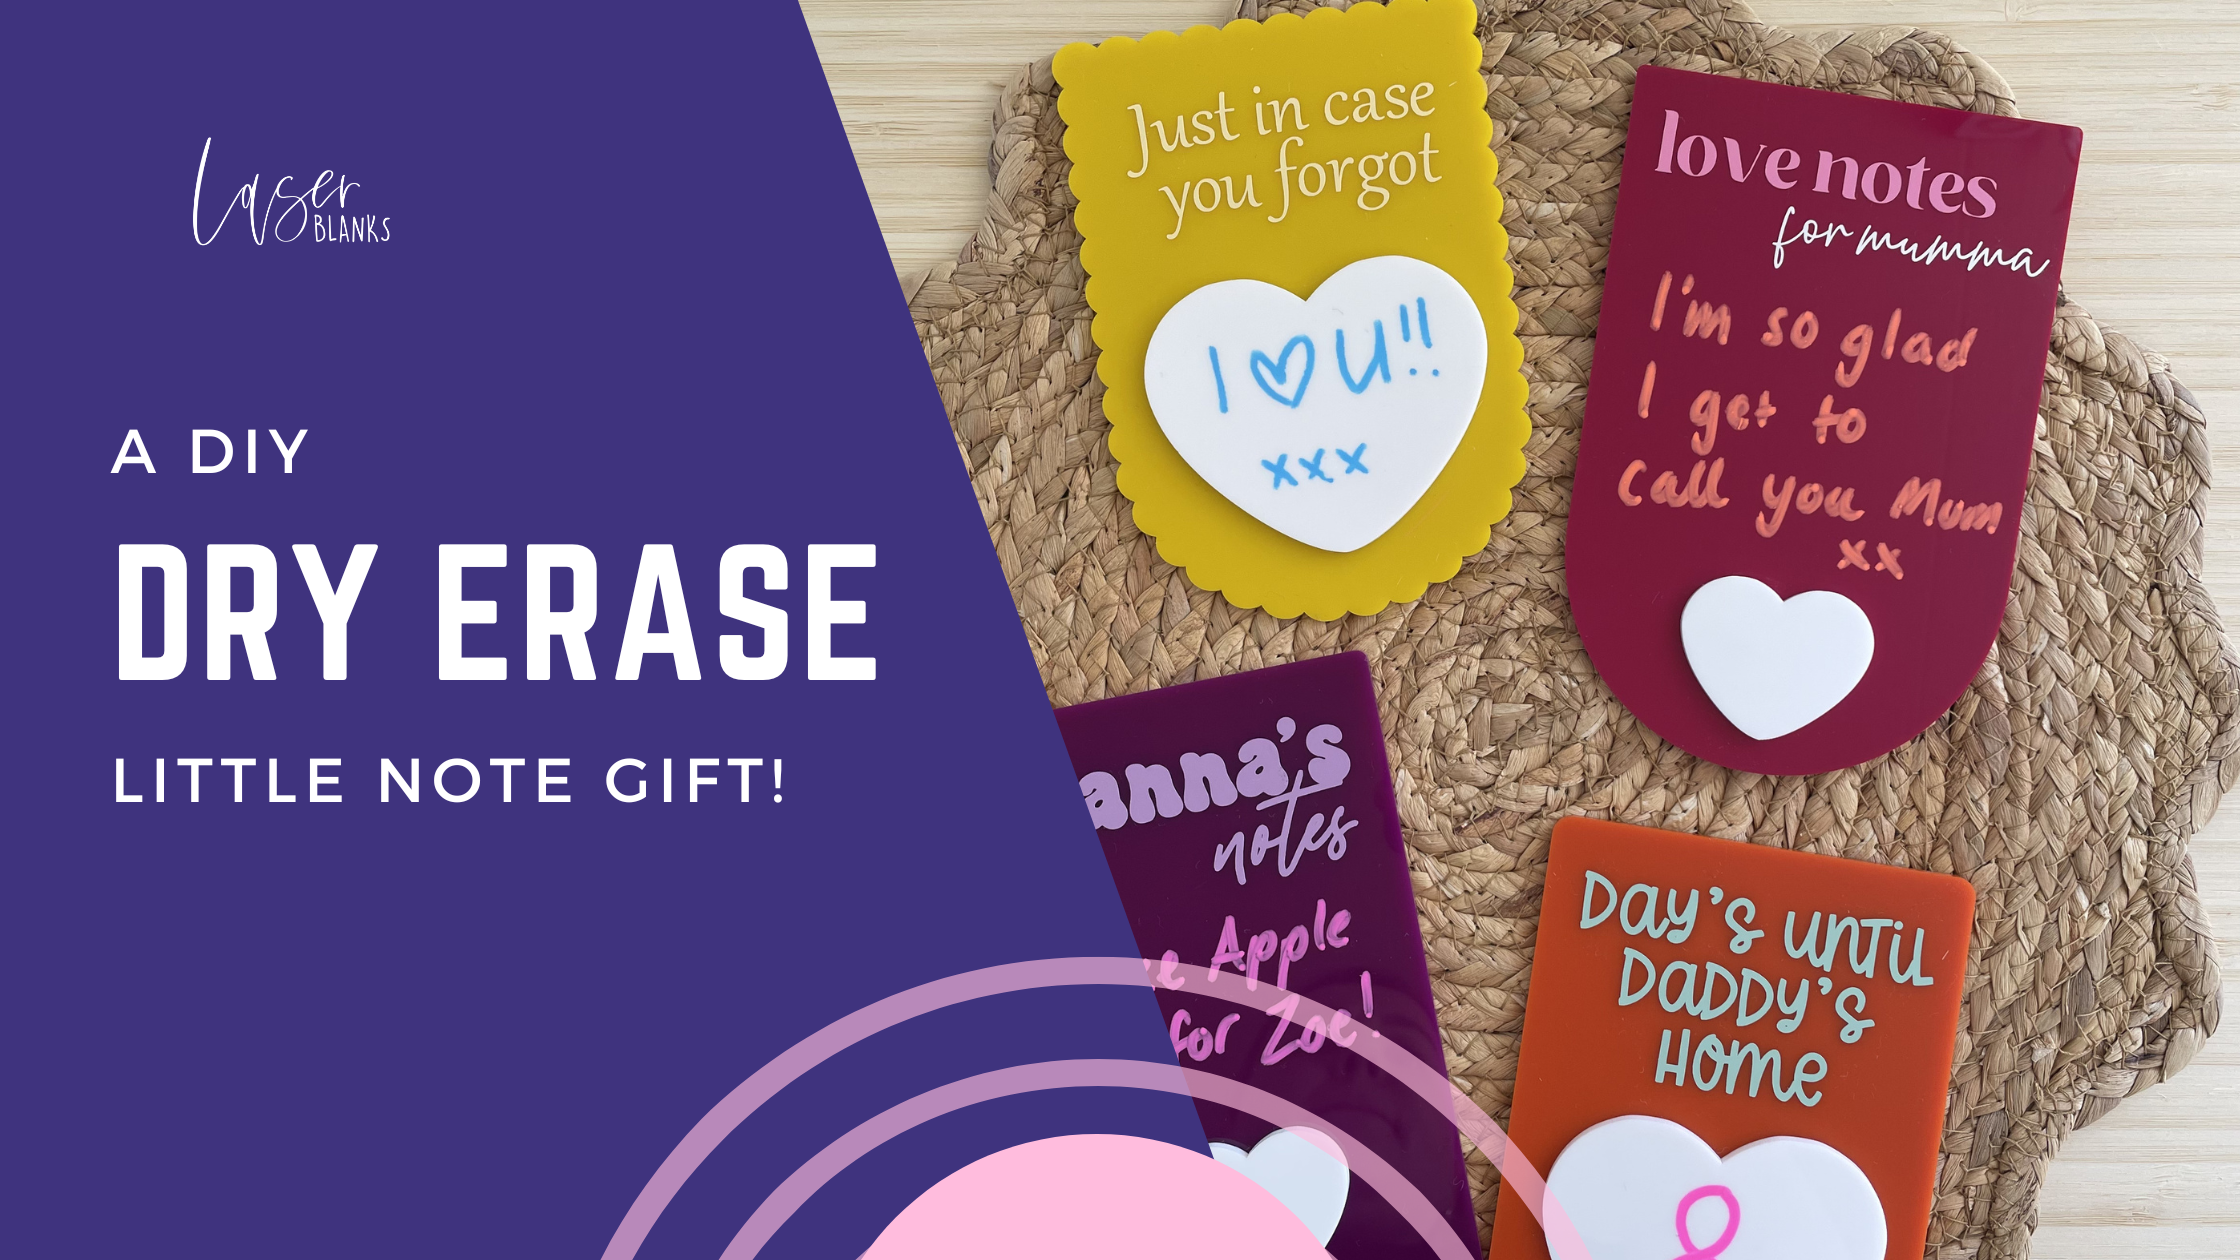
Step 1: Pick Your Blank
Head over and grab yourself a Dry Erase Little Notes Blank. They come in three shapes — a scalloped arch (very cute, very on trend right now), a standard arch (timeless, classic, can't go wrong), and a rounded rectangle (great if you want more writing space). All three are roughly 100–105mm x 140–150mm, so they're that perfect not too big, not too small size that works literally anywhere.
Then comes the fun part — the colour. And oh boy, there are a LOT of colours. We're talking everything from classic clear and white through to sorbet shades, pastels, naturals, and deeper tones like denim blue, red wine, and eucalyptus. Pick the one that makes you happy every time you look at it. That's the whole point.
Step 2: Grab a Heart (Optional but Kind of Essential?)
Okay, you don't have to add a heart. But you're absolutely going to want to. The acrylic hearts come in two sizes and honestly the colour range is just as good — everything from white right through to chunky pink, pastels, and natural tones. Match it to your blank, contrast it, or go full maximalist and make them clash in the best possible way. Your board, your rules.
Step 3: Add Your Vinyl Personalisation
This is where your blank goes from nice to oh wow, did you make that?! Add your own vinyl to the front — a name, a quote, a little "good vibes only" if that's your vibe. Whatever you put on it becomes the permanent frame for all the little notes you'll write inside. Think of the vinyl as your branding and the little heart as your dry erase surface as your message. Perfect combo. We love using chalk marker for our little notes, however, whiteboard markers work great too (just make sure you don't select the darker colours).
Step 4: Stick the Heart On
Grab some E6000 glue and bond that little heart right on. E6000 is the good stuff — it sets strong and clear so it looks like the heart was always meant to be there. Hold it in place for a minute, let it cure, and you're done.
Step 5: Decide Where It Lives
This is the bit we love because honestly, these things are so versatile:
- Fridge? Add a magnet to the back and stick it straight up there.
- Wall? A 3M velcro strip or a little bit of blu-tack does the trick without leaving marks.
- On a shelf or desk? Pop it on a small easel and let it stand proudly.
So what do you write on it?
That's entirely up to you, and that's kind of the magic. Write a love note for your partner. Leave your kid an "I'm proud of you" message before their big day. Pop an inspirational quote on there and change it out every Monday morning. Remind yourself to drink water. Tell your housemate to please stop leaving their dishes in the sink (but, you know, sweetly).
Wipe it off, write something new. Over and over again.
It's one of those things that seems small but genuinely adds a little warmth to your space every single day.

Shop the products:
- Dry Erase Little Notes Blank — from $2.30
- Acrylic Hearts (2 sizes) — sold separately
Have a go and tag us when you make yours — we genuinely love seeing what you create. 🤍 @laserblanks