
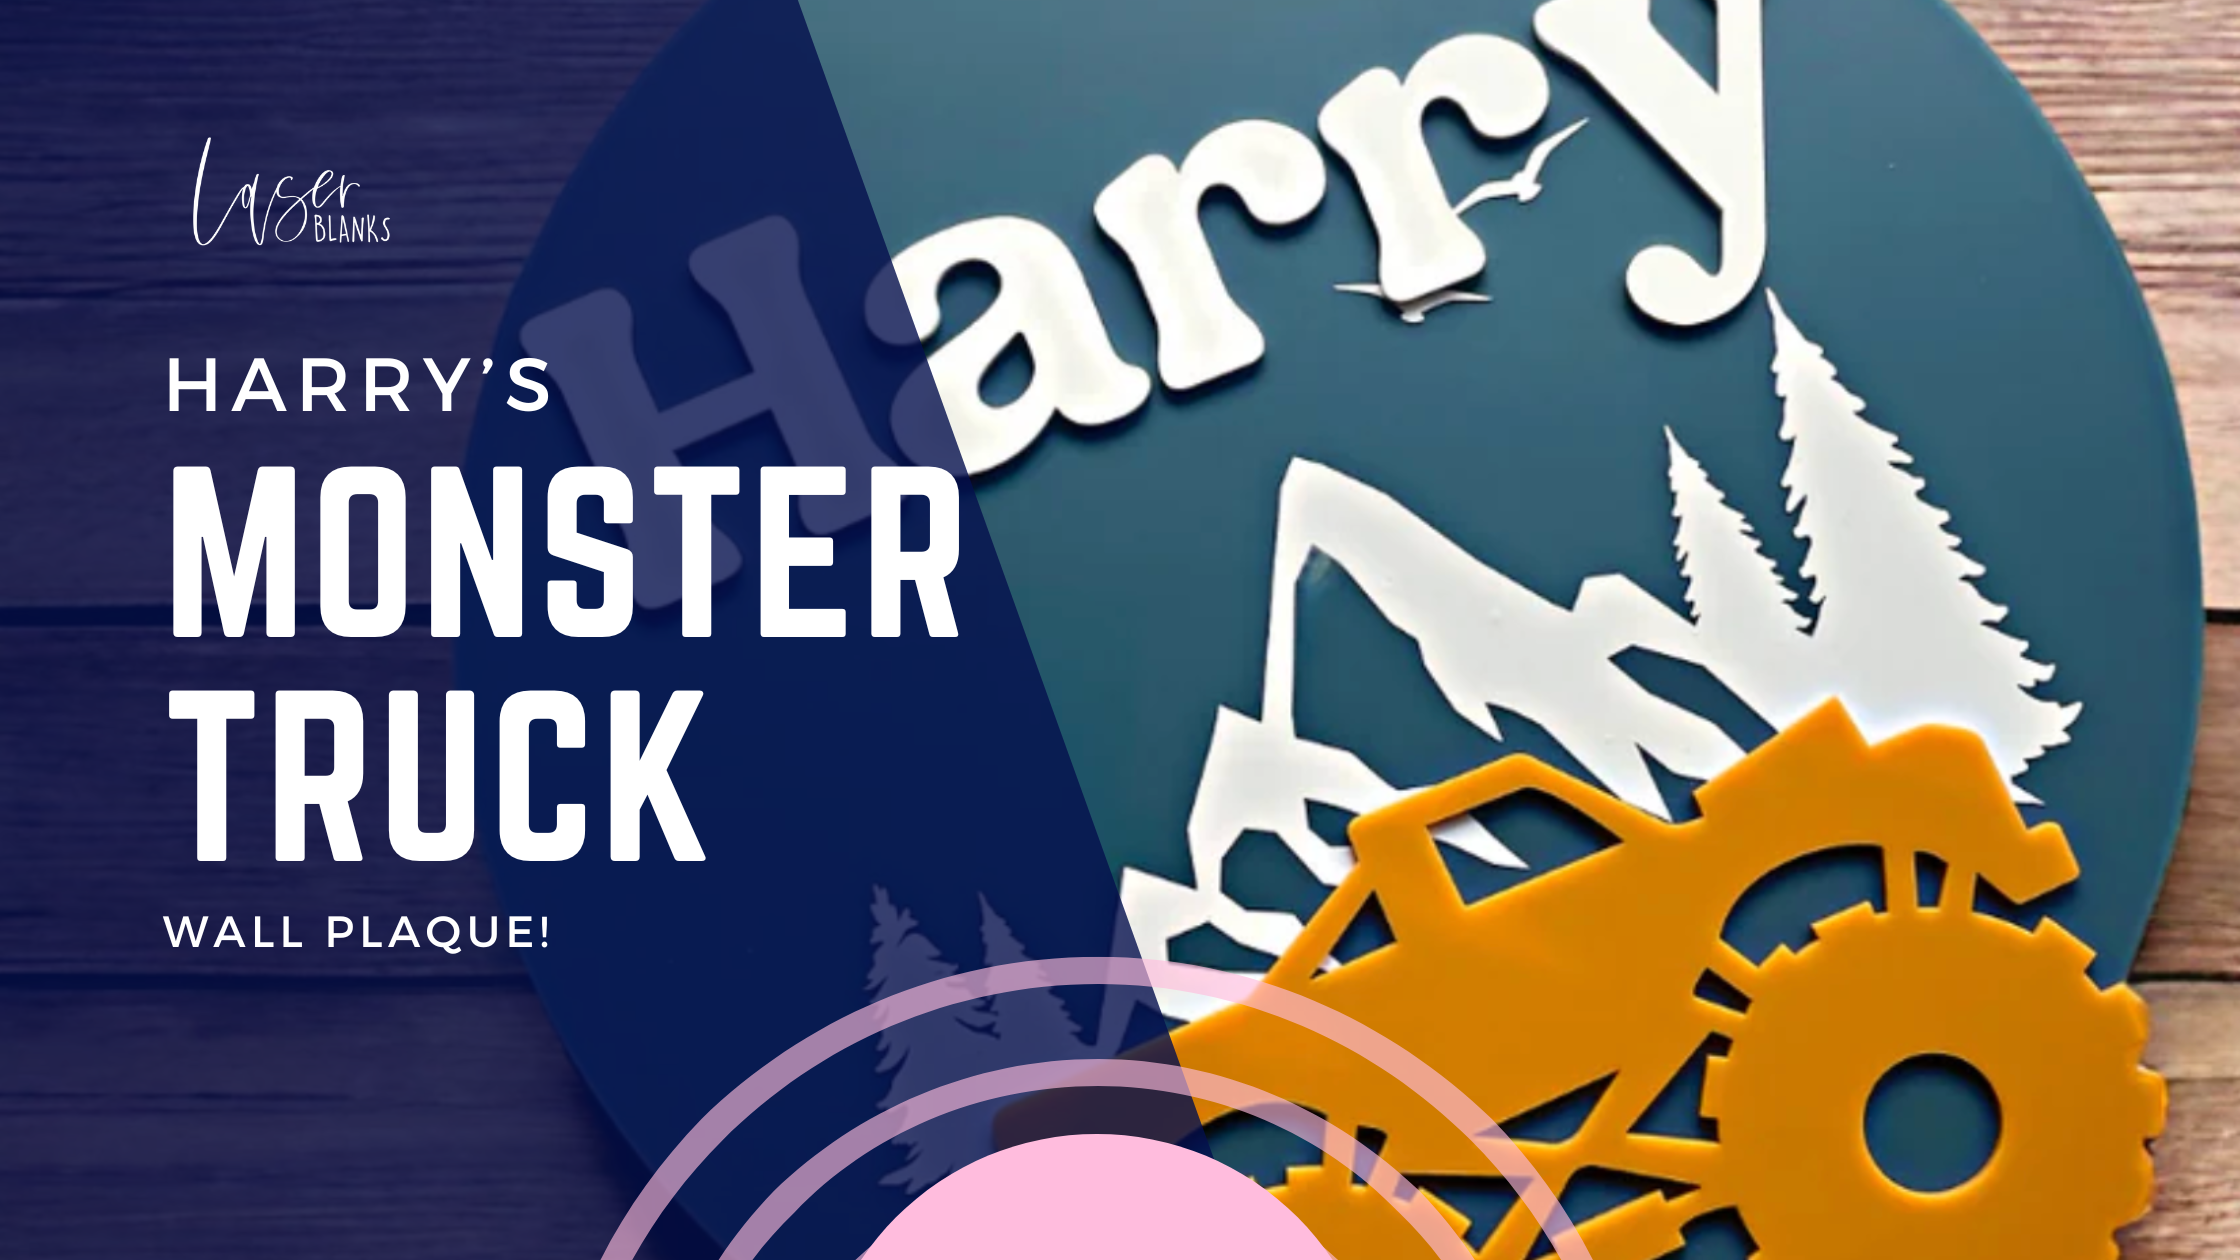
There's something super satisfying when a dream and vision comes to life! Our brief was to make a room plaque for Harry - an outdoor loving adventure kid. I really think we nailed the brief on this one! Here's all you need to make your own plaque just like this one!
The Monster Truck Plaque:
We opted for a 400mm sized wall plaque. We find that this size is a great choice for a statement piece without being too over the top. We selected Denim Blue for the back board colour with the monster truck being in Orange.
You can purchase the monster truck sign here.
The great thing about these signs is that they come in matte on one side and gloss on the other side. To utilise the side you'd like, peel the protective layer from all sides to ensure that you're setting your plaque up as desired.
Name Plaque:
Keeping in mind that we seleted the 400mm sized plaque, we opted for a name that was no greater than 400mm wide to ensure that it would fit in the available space. I would always recommend emailing our team after placing your order to ensure that you receive a name plaque that will fit perfectly. It is never too much of a hassel to email us!! We are here for you!
We selected font option 10.
You can purchase the name plaques here.
Mountain SVG:
We thought that this mountain SVG was perfect for our wall plaque. Although this plaque came with a sun, we chose to leave that piece out. We sized this up to 30cm wide and cut it on Siser PSV. We find the Siser PSV an absolute dream to work with. It is always amazing to weed and cuts like perfection.
You can get the mountain SVG here.

Assembly
To fix the acrylic name and monster truck onto your acrylic back board, we recommend using E6000 glue. It is tried and tested by our team and we don't recommend any other adhesive. Remember to use this glue sparingly - a little bit goes a long way.
You can purchase E6000 glue here.
![]()
We hope you've enjoyed this DIY turorial!!